
Hello everyone and happy Sunday!! It's been a while since I've posted anything, but I finally got to spend some time crafting and I thought I would share a little bit of how I organize my crafting goodies.
I can't take any credit for how I do this...my mother was the one who initially introduced me to the idea of keeping a book filled with stamped images of all the stamp sets I own. She showed me many years ago when I first began my crafting journey. I had way too many stamps (which we all know is impossible, but at the time I was a young grasshopper swimming in wood mount stamps and silly little foam stamps ) and when it came time to creating something, I had absolutely zero idea on how to start or what stamps to use or sometimes I would remember that one stamp, but no clue on where the heck it was. God bless my mother who came to my rescue and who kept me from drowning in my frustration!
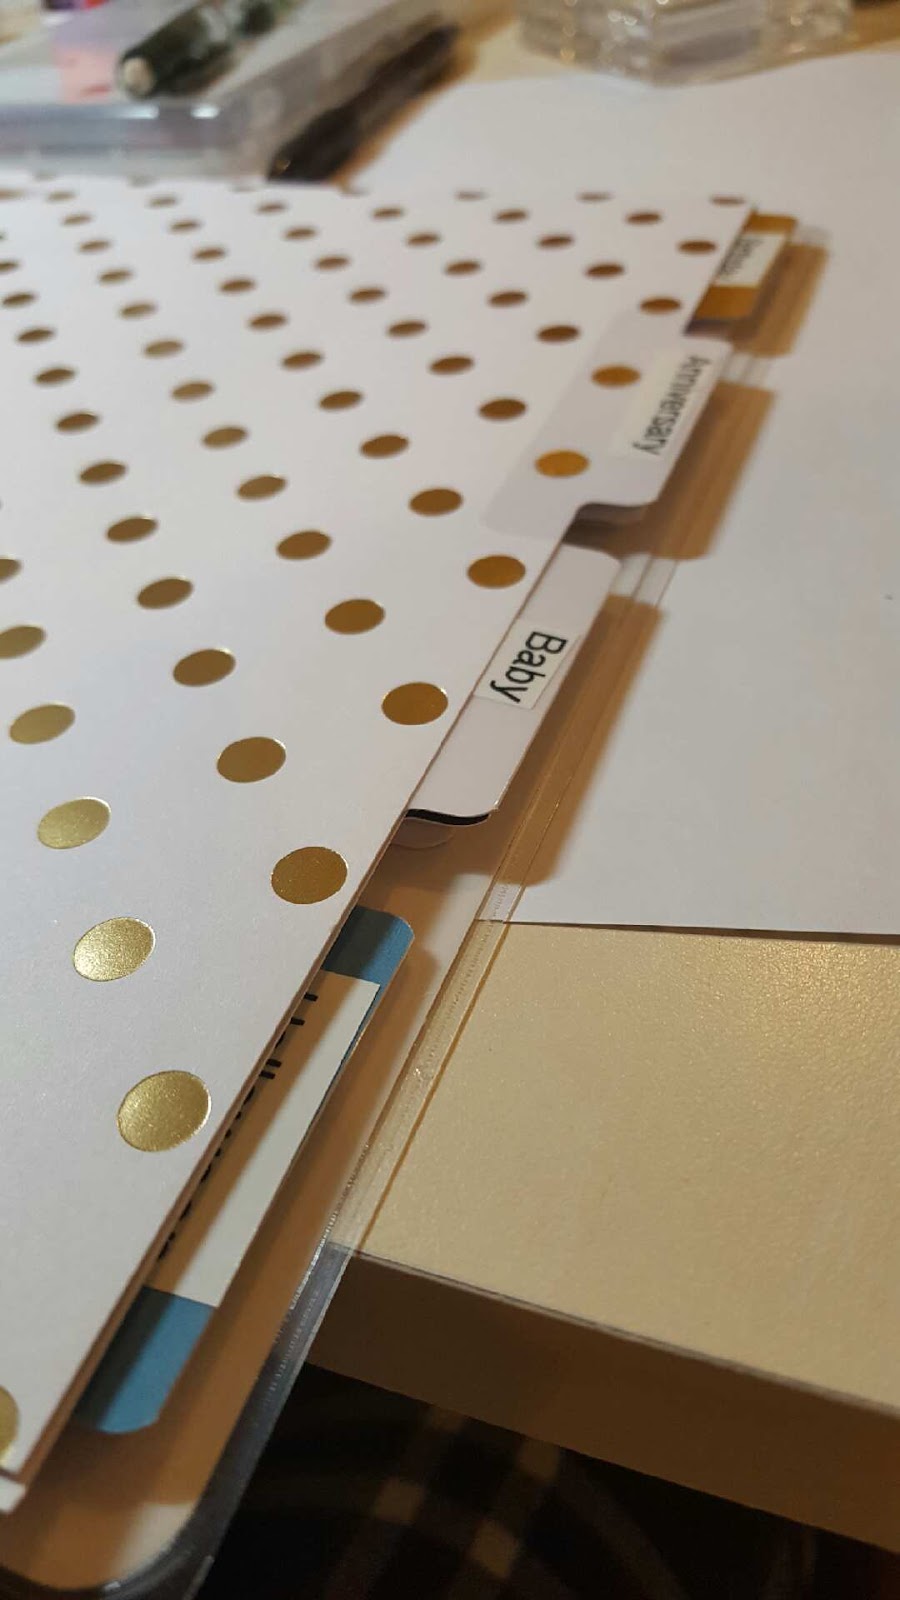
Well, today I decided to update my book and share with you all how I plan on doing it. I knew from the start that I needed something that would be easy to change if I get rid of a stamp set in the future or get my hands on a new one. I'm not sure if any of you are in on the planner craze that seems to be going around, but I am and I have this day journal by 365 Create that fit my needs to a T. There is so much to explain so I'll try to keep it short and sweet so I don't bore you all to death!
365 Create (aka My Happy Planner) sells covers, binding rings, page punchers, calendar extensions, and even pre-made page sets for fitness, recipes, and tons more that I adore. It lets you make your planner your own and keep it going for as long as you can. The page puncher even lets you make your own pages to slip in which is what initially sparked this idea. I grabbed some extra covers, binding rings, and printer paper and got to work!


Now, there are plenty of other ways someone could make a book of their stamps. My mom uses an old little binder she had and punches the pages with a 3-hole punch. It would also be pretty easy just to slip paper into a page protector in a binder too! There are tons of options...or a whole other method of viewing your stamp images! If you have another idea, I would absolutely love to hear about it!!
Love you all~
Pipsy
(Mattie)
**All affiliate links are here for your convenience and are of no extra charge to you. I have purchased all of the products and am not being sponsored to share it with you. Thank you!!


0 comments:
Post a Comment